How to Shoot Real Estate Video: The Complete Guide
Shooting real estate video well comes down to five things: stable movement at the right speed, locked exposure and white balance per room, consistent lighting throughout the property, complete coverage of every space, and clips long enough to cut. Get those right and almost any modern camera or phone will produce footage that edits into a good listing video.
Editorial note. This guide is maintained by the editing team at Real Estate Video Editor. Figures are sourced and dated. If something here is out of date or wrong, email [email protected] and we will correct it.
Camera settings
| Setting | Recommendation | Why |
|---|---|---|
| Resolution | 4K if storage allows | Gives room to reframe for vertical without quality loss |
| Frame rate | 24 or 30fps for the main edit; 60fps for anything you may slow down | 24fps reads as cinematic, 60fps gives slow-motion latitude |
| Shutter speed | Double your frame rate (1/50 at 24fps) | Natural motion blur; faster shutters look stuttery |
| Aperture | f/4 to f/8 on interiors | Keeps the whole room sharp; wide apertures lose the far wall |
| ISO | As low as light allows | Noise in shadows is the hardest thing to fix in post |
| White balance | Locked, set per room | Auto shifts mid-shot and cannot be fully corrected later |
| Exposure | Locked, set per room | Auto hunts when you pan past a window |
| Picture profile | Flat or log if you know how to grade; standard if not | Badly exposed log is worse than well exposed standard |
Movement — the single biggest quality factor
- Move at half walking pace. Normal walking pace looks fast on video. Almost everyone moves too quickly on their first shoot.
- Move on one axis at a time. A push-in, or a lateral, or a rise. Combining them looks unsteady.
- Start and stop still. Hold two seconds before you move and two seconds after you stop. This gives the editor clean cut points.
- Lead with the gimbal, not your body. Let the stabiliser do the work; do not fight it.
- Shoot at waist to chest height. Eye height reads as amateur and makes ceilings feel lower.
- Heel-to-toe walk. Roll your foot rather than stepping flat, and bend your knees slightly.
Lighting
- Turn every light on. All of them, consistently, throughout the property. Mixed on-and-off looks careless.
- Open every blind and curtain. Natural light is what buyers respond to.
- Shoot interiors on an overcast day if you can choose. Direct sun through windows creates a dynamic range problem no camera handles well.
- Shoot the exterior at golden hour, near the start or end of the day, and do it last rather than first.
- Avoid midday sun on the exterior. Harsh shadows on the elevation and a blown-out sky.
- Do not mix a video light with ambient unless you can match the colour temperature — you will create a cast that has to be fixed per shot.
Room order
Shoot in the order the buyer would walk it: approach, entry, main living, kitchen, dining, bedrooms, bathrooms, outdoor, aerial. It makes your own footage easier to log, and it means that if you run out of time you have lost the least important material rather than the most.
Drone
- Check your local rules first. Commercial drone operation requires certification in most jurisdictions.
- Fly slowly. The same rule as ground movement, more so.
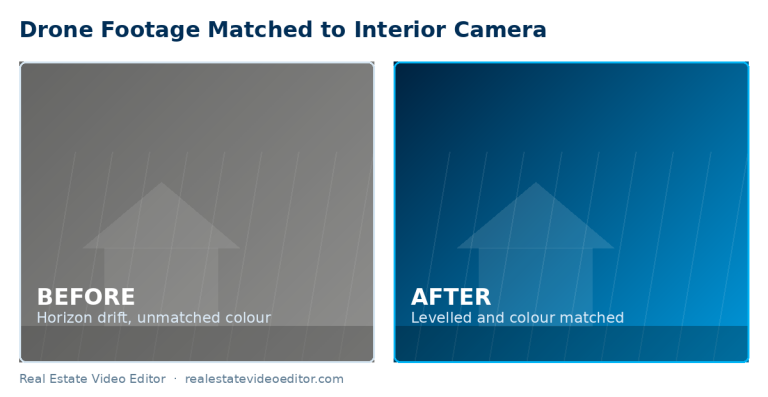
- Keep the horizon level — it is far easier than fixing it in post.
- Shoot the reveal twice, once fast and once slow. You will want the slow one.
- Get a top-down showing plot shape. It is the shot that sells land and it is the one most people forget.
- Match your colour profile to your ground camera if you can, or shoot log on both.
The eight mistakes that make footage unusable
- Clips that are too short. Under 5 seconds gives an editor nothing. Hold 8 to 10.
- Auto exposure left on. The brightness pumps every time you pan past a window.
- Moving too fast. The most common problem by a wide margin.
- Inconsistent white balance. Every room a different colour and no way to fully fix it.
- Shooting into windows without exposing for the interior. Silhouetted rooms and blown views.
- Missing coverage. No editor can invent a shot of a room you did not film.
- Mirrors with you in them. Check every bathroom and wardrobe.
- Filming with lights off in half the property. The grade cannot reconcile it.
Equipment
| Level | Camera | Stabilisation | Approximate cost |
|---|---|---|---|
| Phone | Modern iPhone or Android flagship | DJI Osmo Mobile or similar gimbal | $100–$150 for the gimbal |
| Entry | Sony ZV-E10, Canon R50 | DJI RS3 Mini | $900–$1,400 |
| Professional | Sony A7IV, Canon R6 II | DJI RS3 Pro | $2,500–$4,000 |
| Aerial entry | DJI Mini 4 Pro | Built in | $760 |
| Aerial professional | DJI Mavic 3 Pro | Built in | $2,200 |
Technique matters far more than equipment. Good phone footage beats badly shot full-frame footage every time.
Use our free shot list on your next shoot, then send us the footage and get it back edited in 24 to 48 hours.
A realistic shoot-day timeline
For a standard single-family listing: 15 minutes for exterior and drone (weather and light permitting), 25–35 minutes for the interior walkthrough at a deliberate pace, and 5–10 minutes for close-up detail shots (fixtures, a feature fireplace, a view). That’s 45–60 minutes of raw footage on-site to produce a 60–90 second final video — roughly the same footage-to-output ratio professional editors plan around across most listings.
Lighting mistakes that can’t be fully fixed in the edit
- Shooting into bright windows without exposing for the interior — the outside blows out and no amount of grading recovers it cleanly.
- Mixed colour temperature left uncorrected on set — warm tungsten bulbs next to daylight through a window reads as a colour clash even after post correction, though matching helps.
- Shooting midday direct sun for exteriors — flat, harsh light with no shadow definition. Golden hour (roughly an hour after sunrise or before sunset) reads dramatically better on camera for very little extra planning effort.
Written by the editing team at Real Estate Video Editor. We edit property video every day for agents, photographers and brokerages. Figures on this page carry a source and a date. If something here is out of date or wrong, email [email protected] and we will correct it.

Specialist real estate video editors. We turn property footage and listing photographs into finished listing videos for agents, photographers and brokerages worldwide.
[email protected]
Replies within 4 business hours
Editing Services
AI Video Maker
Guides & Resources
Serving real estate agents, property photographers and brokerages in the United States, Canada, the United Kingdom, Australia and worldwide. All editing performed by a dedicated real estate video team. We do not shoot on location — everything is remote and digital.
- © 2026 Real Estate Video Editor
- Privacy Policy
- Terms of Service
- Acceptable Use
- Refund Policy
- AI Transparency